Winter Solstice Sundial Photography: Capturing Long Shadows and Low Sun
December brings the shortest day of the year and, for anyone who photographs sundials, the most generous light. On the winter solstice the sun climbs only a little way above the horizon, so every gnomon throws a shadow two or three times its own height, thin and blue across the stone. Dials that look tidy and legible in June become something else entirely in that raking light: more dramatic, harder to read, and far more rewarding to photograph. What follows is how to plan for that light, expose for it, and bring both camera and dial through a cold morning intact.
What the Solstice Sun Does to a Sundial
The geometry is simple and worth holding in your head before you leave the house. At solar noon on the solstice, the sun's altitude is roughly 90 degrees minus your latitude, minus 23.4 degrees. In the mid-latitudes of Europe and North America that puts the noon sun somewhere between about 12 and 27 degrees above the horizon. Shadow length follows from that: divide the gnomon's height by the tangent of the sun's altitude, and you have the distance from the base of the gnomon to the tip of the shadow. At 48 degrees north, a one-metre gnomon casts a shadow of roughly three metres at noon.
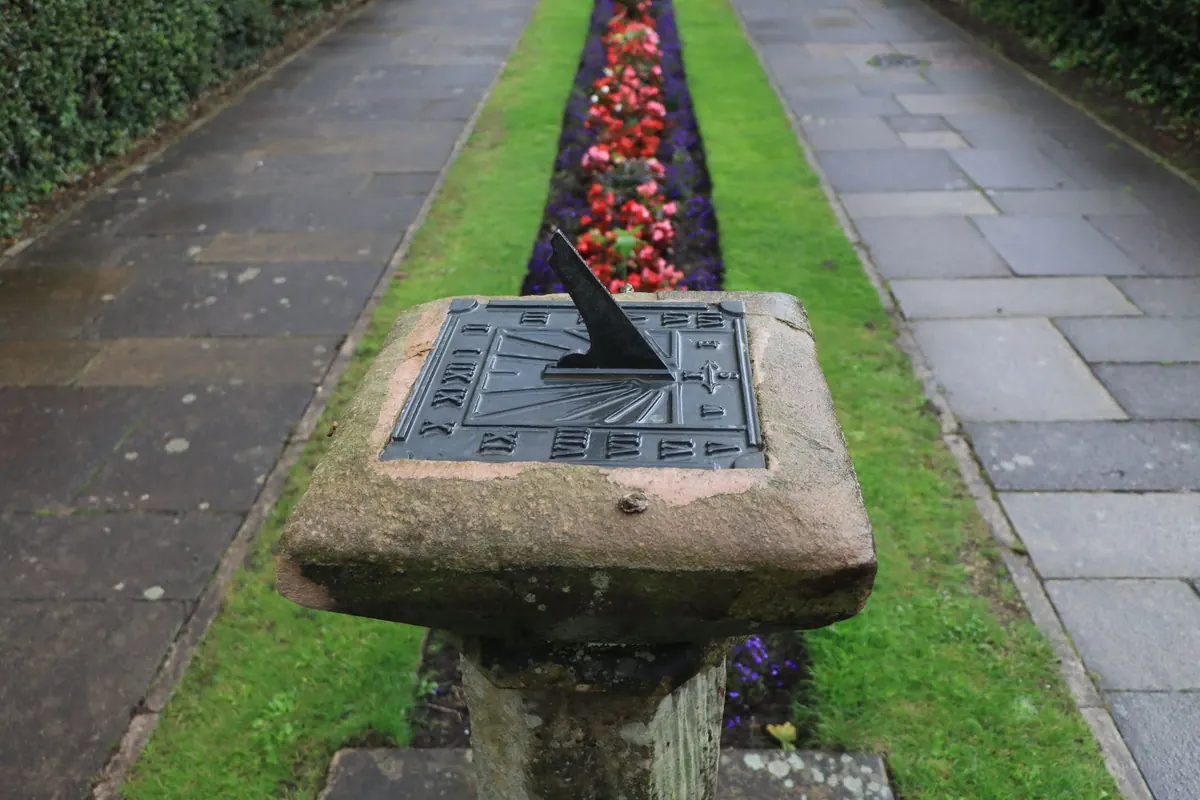
Two consequences matter for photography. First, the tip of the shadow may not land on the dial plate at all. Many dials are cut so that the winter noon shadow falls off the edge, onto the plinth or the ground, and the lowest hour lines simply cannot be reached between November and February. Photograph what the dial actually does rather than what you expected it to do. Second, the shadow edge is soft. The sun is half a degree wide, so the penumbra is about one per cent of the shadow's length — a few centimetres on a three-metre shadow. That blurred edge is part of the winter look, and it means focus and contrast deserve more attention than they do in summer.
Scout the Site Before the Shortest Day
A low sun is easily blocked. Walls, hedges, a church tower, the neighbour's fir tree: anything that would never trouble a June noon can put a dial in shade for most of the day in December. Visit a day or two beforehand if you can, and note when direct light first reaches the plate and when it leaves. A sun-position app or simply the shadow of a lamp post will tell you the same thing.
Build your plan around a window rather than a whole day. Two hours either side of solar noon is usually the sweet spot: the light is still raking, but the shadow is well enough defined to read. Arrive early. Setting up in the cold always takes longer than you think, and the usable light on the solstice is gone by mid-afternoon.
Exposure and Focus in Raking Light
Winter light is contrasty in a particular way. Pale stone, frost and snow bounce a great deal of light, while the shadow itself stays deep and cool. Protect the highlights — frost and lichen on a limestone dial clip very easily — and let the shadow sit dark if that is what the scene gives you. Check the histogram rather than the rear screen; a bright, low sun flatters everything on a small display. Bracketing a stop either side costs nothing when the camera is already on a tripod.
Settings that suit the subject
A tripod is close to essential. Use a low ISO for clean stone textures, stop down to around f/8 or f/11 so both the gnomon and the far end of the shadow hold detail, and accept that diffraction will soften things further if you go beyond that. If the shadow runs three metres deep into the frame, consider focus stacking two or three frames rather than stopping down to f/22.
Watch the clock
The shadow moves. At mid-latitudes the sun travels about a quarter of a degree each minute, which shifts the tip of a two-metre shadow by roughly a centimetre per minute. That is not a problem for a half-second exposure, but it will soften a thirty-second one. Keep exposures short, or use the movement deliberately by making a short sequence as the shadow creeps across the hour lines.
Do not look at the sun through the viewfinder. Compose and focus using live view, keep the lens hood on, and if the sun enters the frame, wait for it to slide behind the gnomon or a branch rather than pointing the camera straight into it.
Composition: Let the Shadow Carry the Frame
The shadow is the subject, not the brass. Get the camera low and close to the plate, so the shadow runs away from you towards the top of the frame; a vertical crop suits a long winter shadow far better than a horizontal one. Alternatively, step back with a longer lens and compress the shadow against the dial's engraved lines and numerals, which is the clearest way to show how far the tip has strayed from the noon mark.
Give the eye a sense of scale: a gloved hand, a boot, a bunch of keys laid on the plinth, frost crystals catching the light. Snow and frost are allies here, holding the low light and sketching the edges of every surface. Slightly blue shadows are honest in winter — resist the urge to white-balance all the cold out of them.
Cold-Weather Care for Camera and Dial
Cold drains batteries faster than the specification suggests, and condensation is the real enemy. Keep a spare battery inside a coat pocket next to your body and swap it before the first one dies, not after. Before you go back indoors, seal the camera in a bag with the air it has been breathing outside, then let it warm up slowly for an hour or two. Opening a cold camera in a warm room is how sensors and lens elements end up fogged.
Handling the dial itself
Treat the instrument as part of the landscape. Do not brush frost or snow off the plate with a glove or a scraper — you can lift paint, scratch patinated bronze and leave a worse mark than the weather would. Do not breathe on a cold metal gnomon to warm it. Do not lean on a plinth to steady yourself, and check your footing before you crouch: stone steps and wet flagstones ice over exactly where you want to stand.
- Camera, spare battery, memory card, lens cloth — all in an inside pocket.
- Tripod with a cloth wrapped round the leg you will handle most.
- Thin gloves with fold-back fingertips; a second pair in reserve.
- Small reflector or white card for filling the shaded side of the plinth.
- A note of the sun's noon altitude and the hours you intend to shoot.
The Short Day Rewards Patience
Photographing a sundial at the winter solstice is a modest project: one object, one low sun, a couple of hours of usable light. That is exactly why it works. Check the forecast for a clear, cold morning, arrive with time to spare, and shoot the shadow rather than the dial alone. Then take one frame that shows the whole instrument in its setting, so the long shadow has somewhere to belong. Pack up before your fingers stop working, and let the camera warm up slowly on the way home.
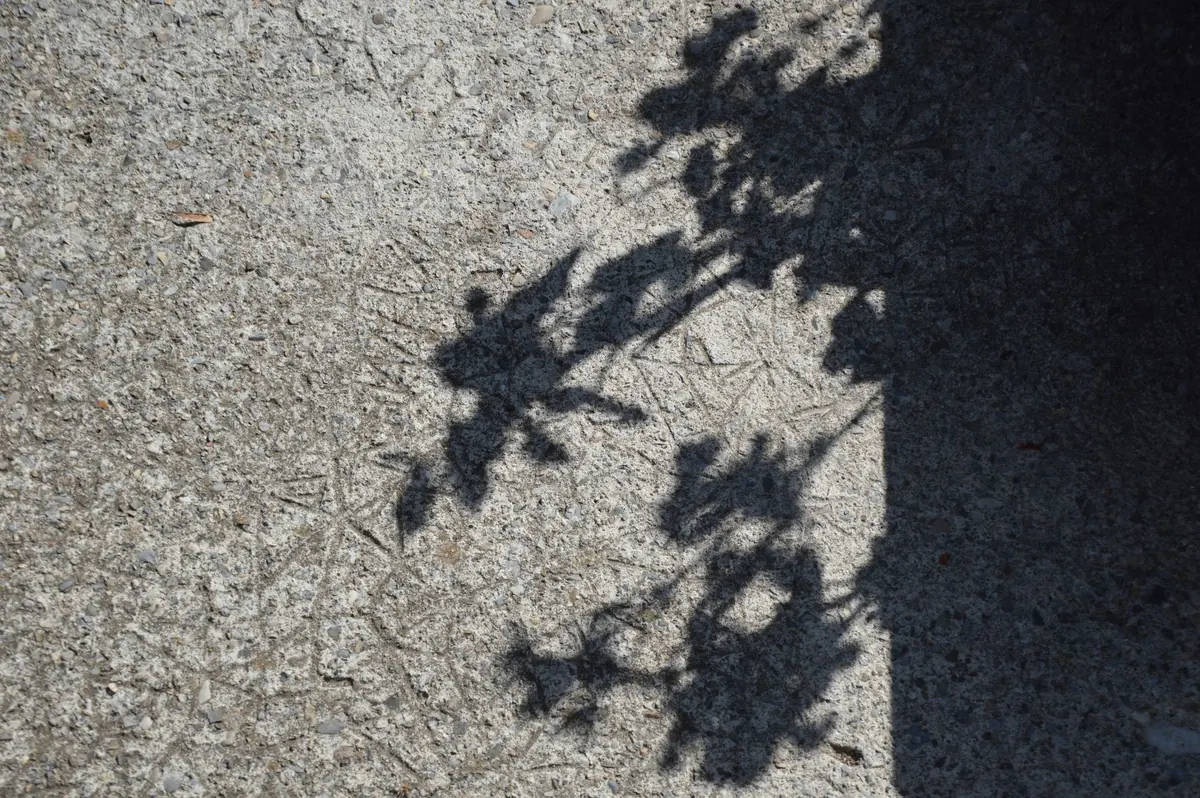
Photo: Jan Wright / Pexels
You Might Also Like
A hands-on family guide to the spring equinox: plant a stick, track its shadow, measure it at noon, and find true north with chalk and a child's height.
Historic spa gardens used sundials as working clocks for a prescribed daily cure, and as ornament. Here is how to read the dials, mottoes and meridian lines still standing there.